Installation Latest Cpanel/WHM on CentOS 7.4 Server
In this article, we will learn how to install Cpanel and the whole process discussed. Now I have the version in my Operating System CentOS 7.4
Why we Use CPanel?
cPanel is one of the famous Linux-related hosting and it is more liked by the web industry of hosting. It helps to solve the work so the non-technical user can easily do all things with the help of a click. Now we will learn how it performs.
Cpanel is a hosting enterprise and license is must for it. So,it works properly. It also gives you the option for trial period of 15 days and provides the knowledge.
Cpanel only exertion in Red Hat Enterprise Linux (RHEL) and CentOS, Debian, CloudLinux like system.
########
Cpanel comes along with webserver suite (LAMP) with Mail server, FTP server, Name server applications etc. So we don’t have to install each of those packages after installing Cpanel.
In this tutorial, we will go through how Cpanel is installed and setup in a CentOS server.
How To Install CPanel
Cpanel we just have to download the installation script and execute it to complete the Cpanel installation. This is most likely to be done in a newly provisioned server to avoid installation errors.
[root@solutionclub ~]# yum update
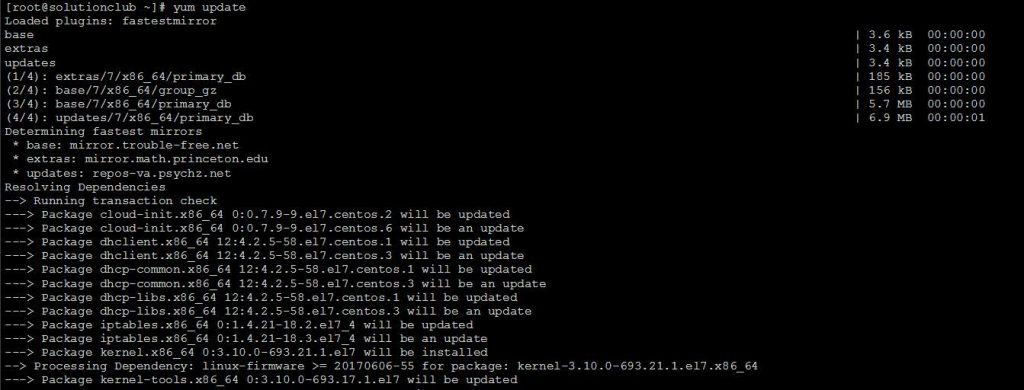
make sure you set FQDN (A fully qualified domain name)
[root@solutionclub ~]# hostname solutionclub.solutionclub.in

[root@solutionclub ~]# cd /home && curl -o latest -L https://securedownloads.cpanel.net/latest && sh latest
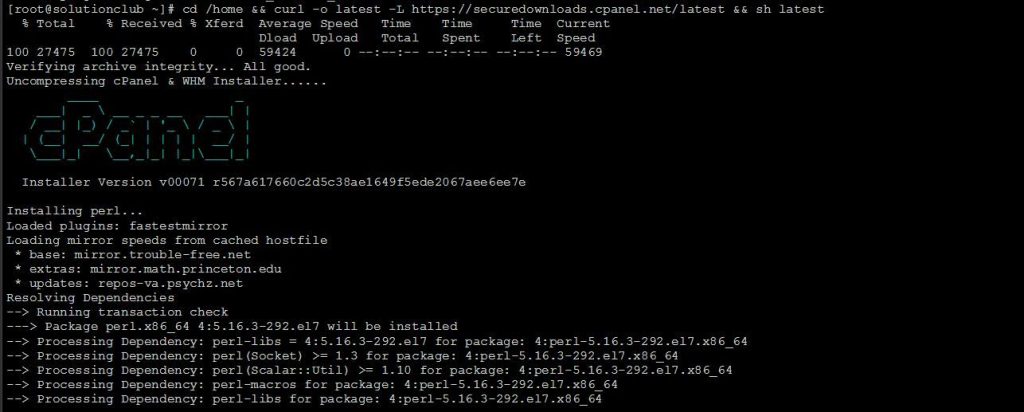
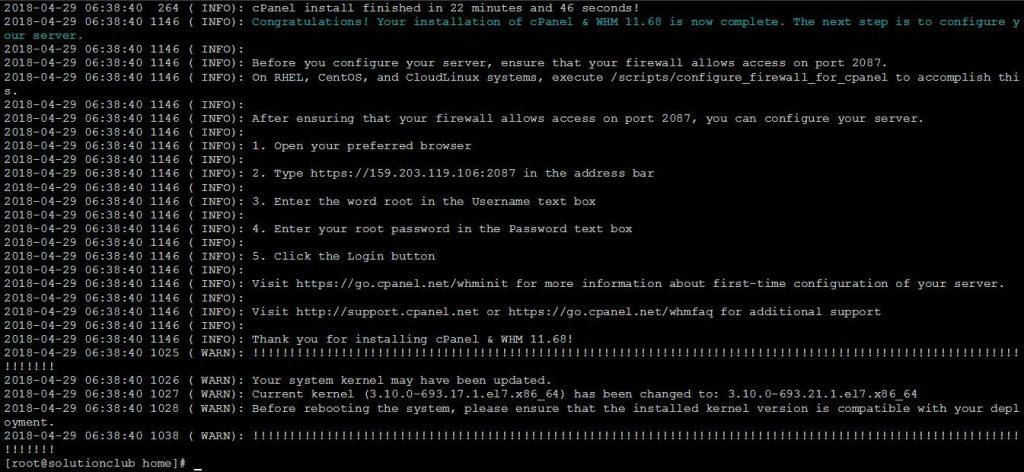
This command change the current working directory to /home, downloads the latest cPanel package and executes the installation script.
Below given is a screenshot that marks the completion of cPanel/WHM installation.You can access the web interface of WHM in your browser by going to http://IPADDRESS:2086 or https://IPADDRESS:2087 for encrypted connection.
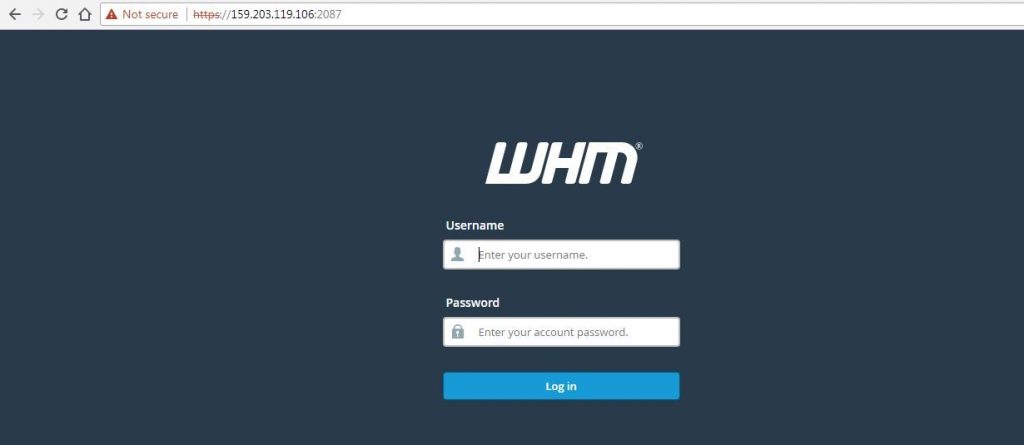
CPanel/WHM Setup Via Web Interface
cPanel/WHM is listening to the ports 2086 and 2087, later when accessed via HTTPS.
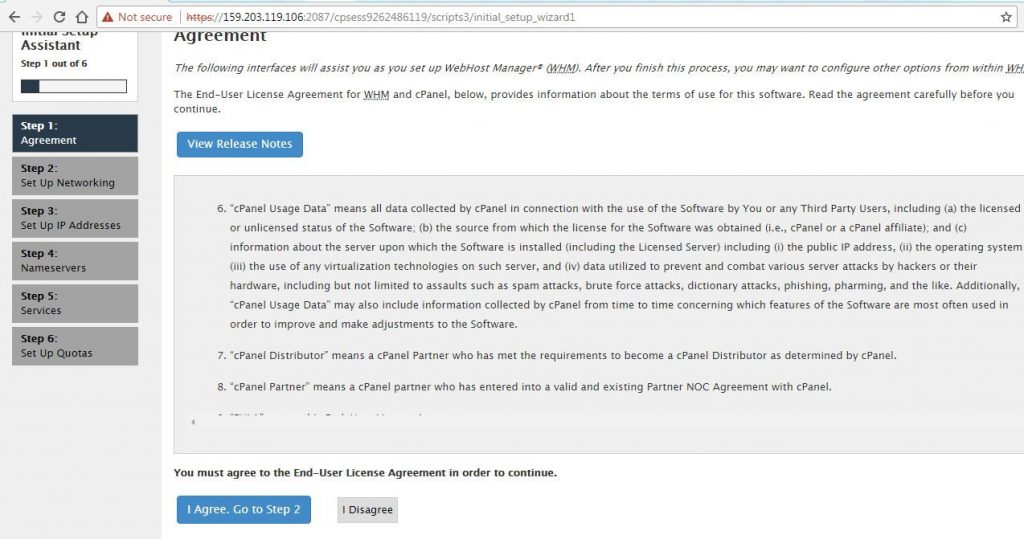
This will take you to the WHM login window and since WHM requires ‘Root’ access, you need to login as the Root user and password.
The first page you see after login would be the initialisation setup page. This page just shows the license agreement, you can accept it and move on to the next page which is the Networking setup.
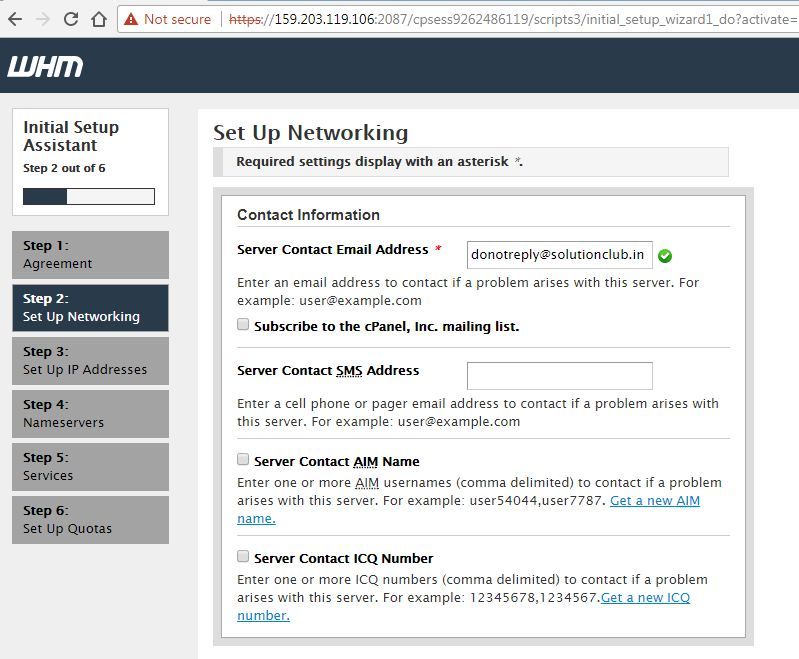
If you need to more IP Address in your server then you can add here.
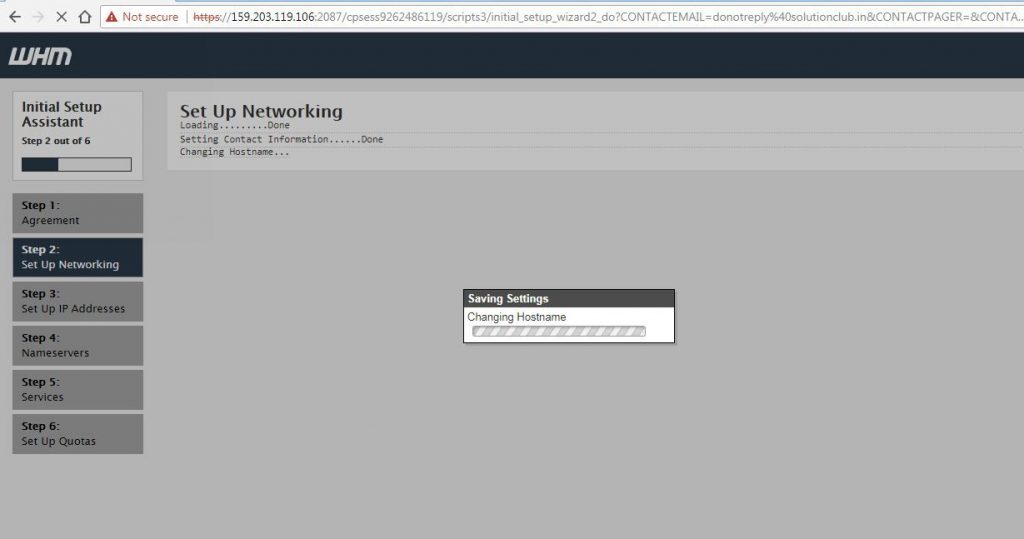
In this page you need to specify the following things:
Server Contact Email Address = This is the Email address in which server sends notification Emails.
This Server’s Hostname = Hostname of the server
Primary Resolver = Primary Name Server which this cPanel server contacts to for Domain Name Resolution.
Secondary Resolver = Secondary Name Server which this cPanel server contacts to for Domain Name Resolution, this is set incase the Primary Name Server is not responding or resolving.
Select the main network/Ethernet device = This is the name of your main ethernet device and by default it is ethX.
Click on ‘Save and Go to Step 3’ option and this will take you to the IP Address setup page.
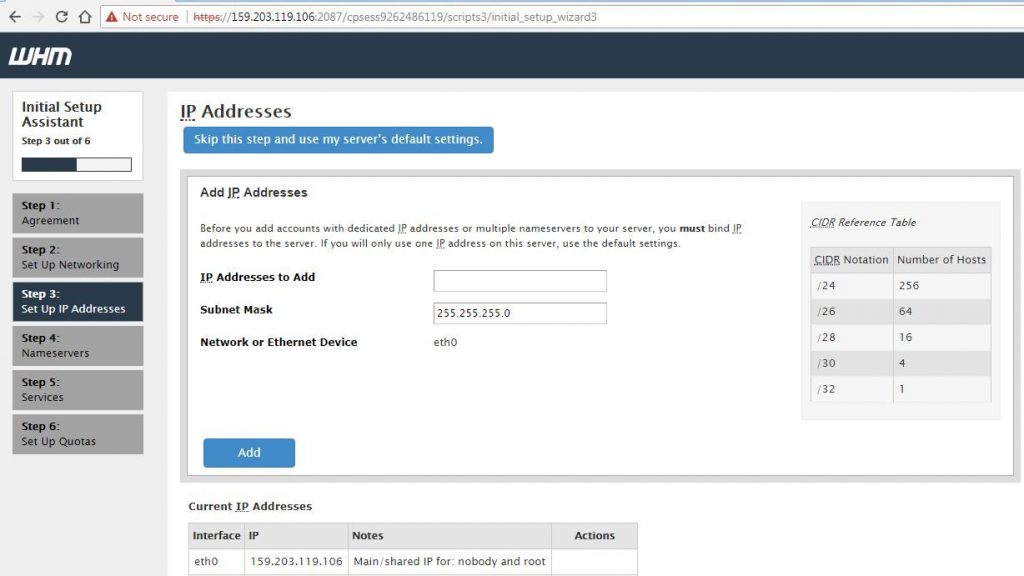
You can skip this step and Go to Step 4 if you are not having multiple IPs. If you have multiple IPs in the server, add those IPs separated by comma in the Red colored field you can see in the above screenshot.
Next page is the Name Server setup page.
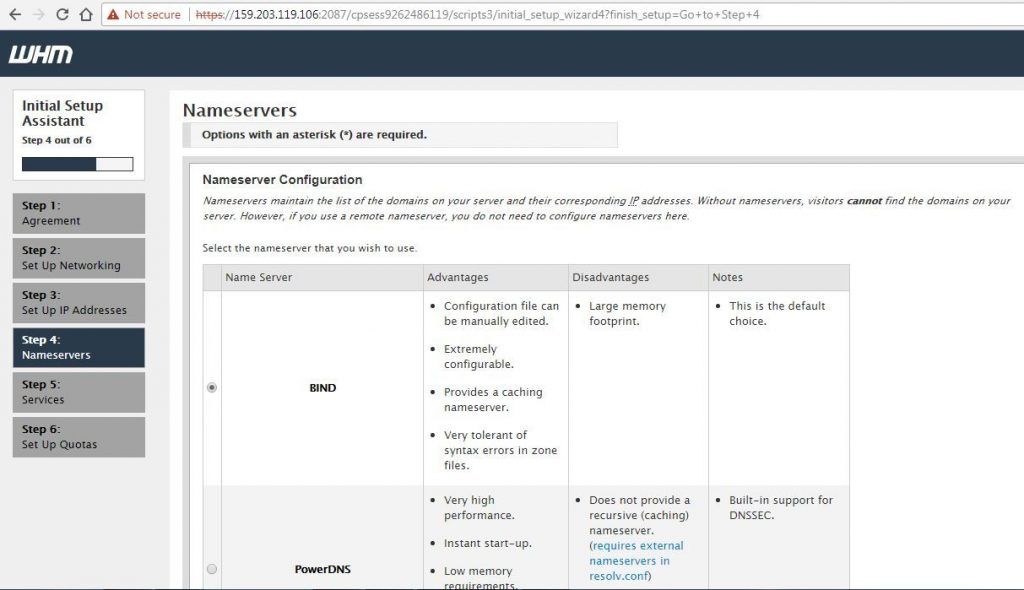
click Save
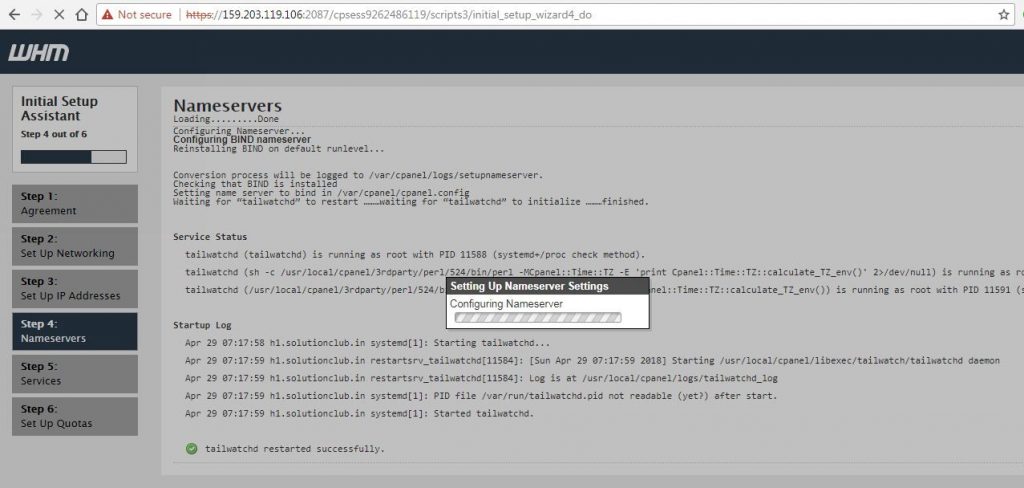
In this page you can select the Name Server application that you want to use (eg: Bind, MyDNS) if you want this cPanel server to act as an authoritative Nameserver of the domains that you host or even hosted elsewhere.
You’ll have to set name for the Name Servers (eg: ns1.solutionclub.in, ns2.solutionclub.in). And if you are using this server as the authoritative Name Server of a domain say, example.com, you can set its Name Servers as ns1.solutionclub.in and ns2.solutionclub.in
After entering this data, click ‘Save and Go to Step 5’ and this will take you to Services configuration page.
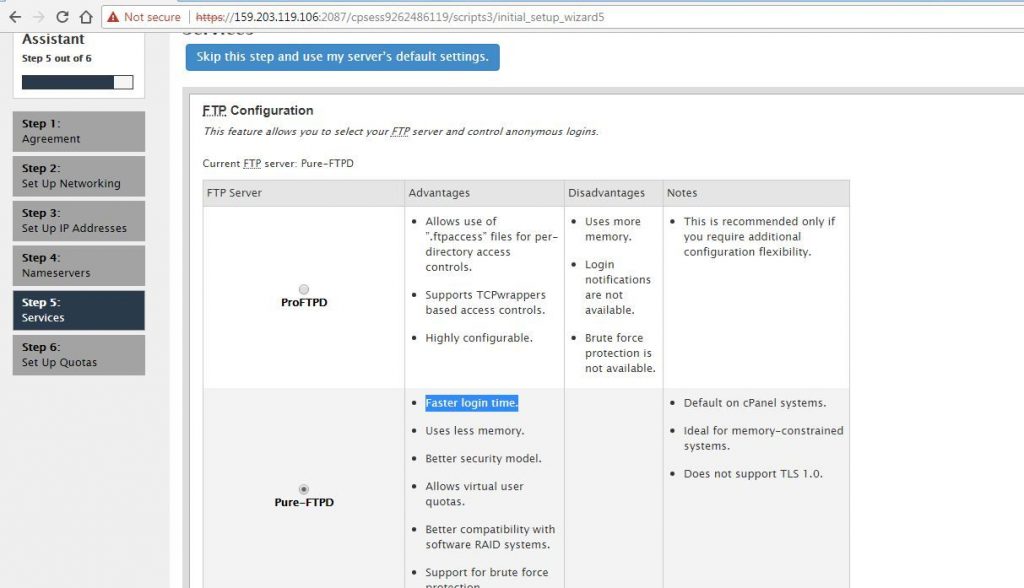
Next click ‘Save and Go to Step 5’
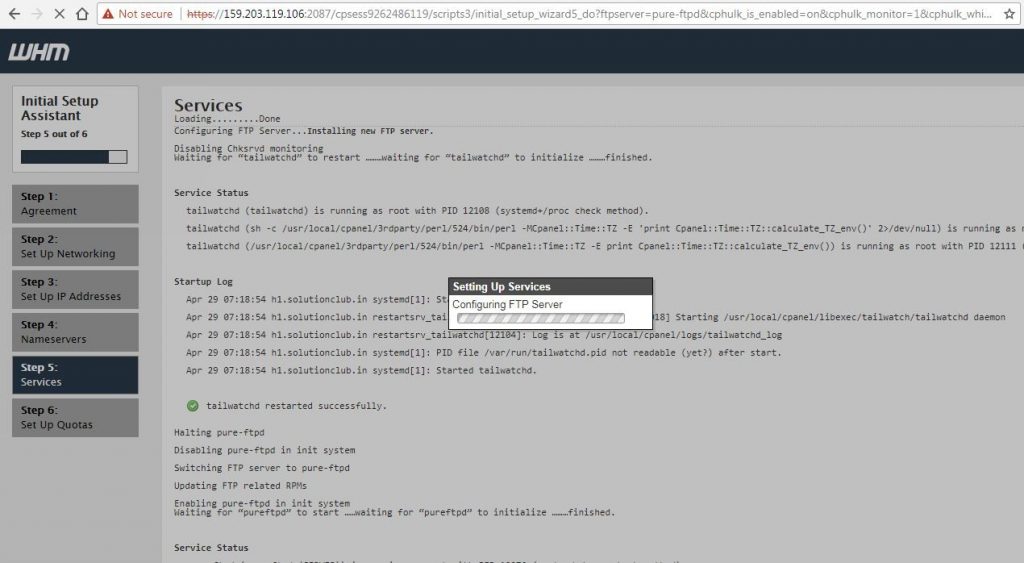
In this page, you can specify the following things.
FTP server that you want to install. You can choose between ProFTPD and PureFTPD, default installation would be PureFTPD. If you don’t want FTP server installed in your server, you can click on ‘Disabled‘ option below.
Mail server that you want to install. You can choose between Dovecot and Courier, default installation would be Dovecot and you can choose ‘Disabled‘ if you don’t want mail server installed in the server.
Configure cPHulk Brute Force Protection, you can enable this function to enable protection from brute force against web services.
After choosing these options, Save and Go to Step 6.
This will take you to the Quotas page which is the last step of cPanel/WHM Setup.
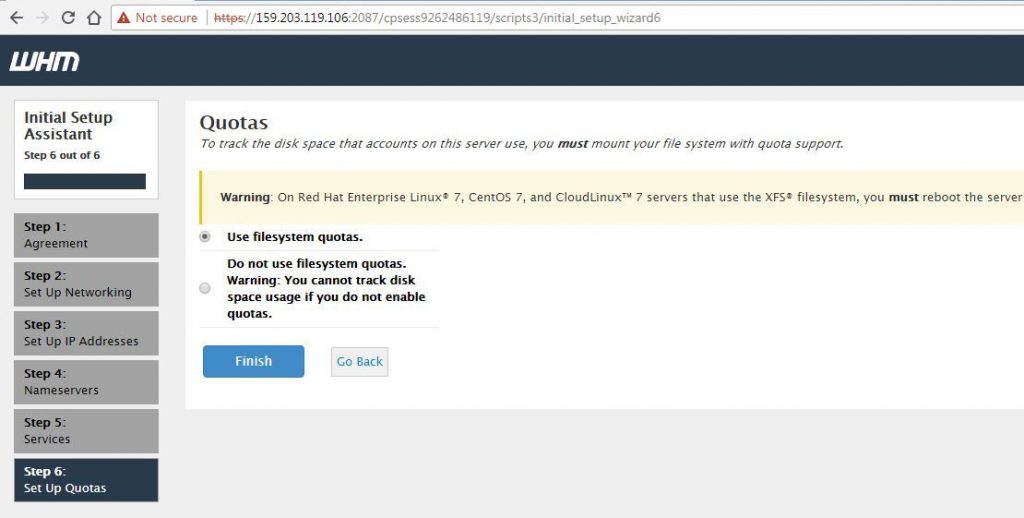
You may choose ‘Use file system quotas‘ if you need to calculate disk quotas of the accounts.
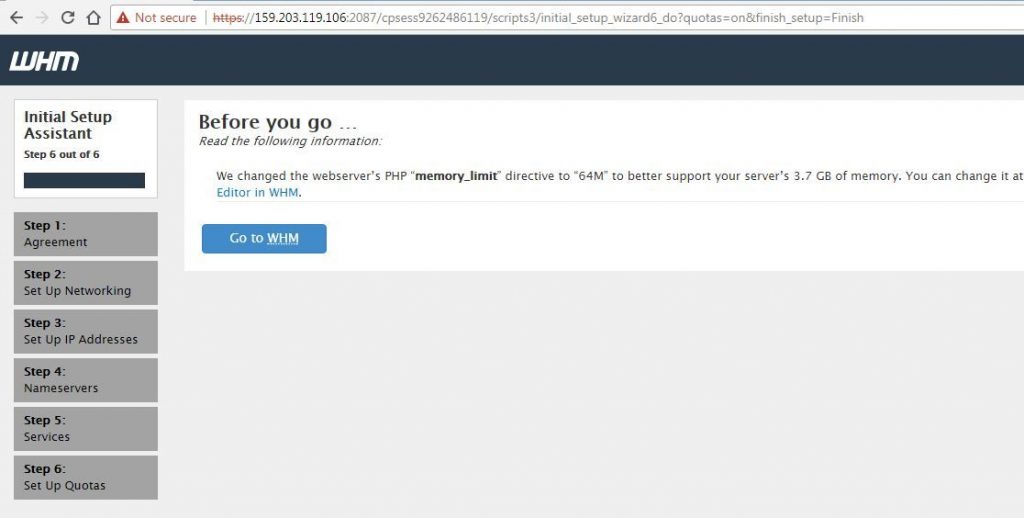
Click on ‘Finish Setup Wizard’ and cPael/WHM is now ready for use.
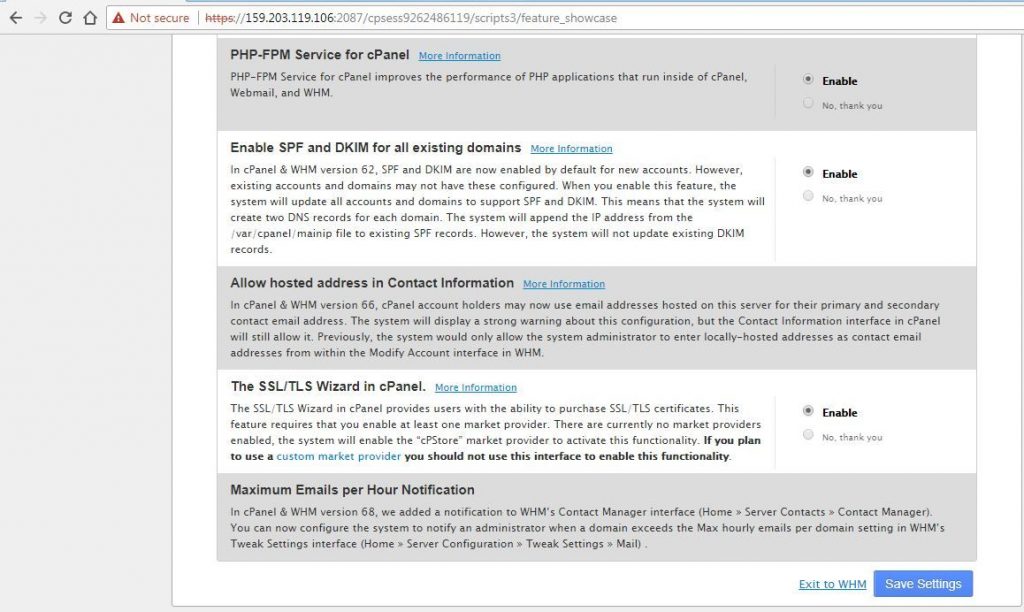
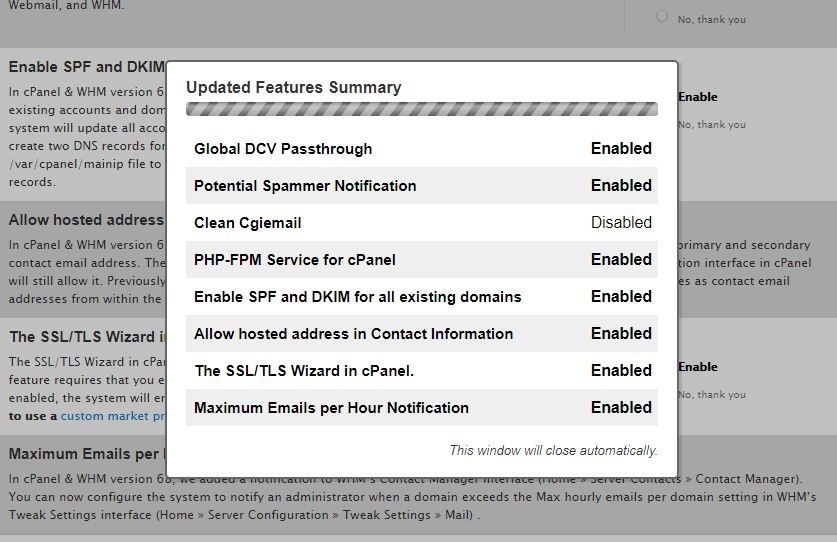

This error indicates an issue with your cPanel & WHM license. To address this error, run the following command as the root user:
[root@solutionclub ~]# /usr/local/cpanel/cpkeyclt
I hope you found this information useful on how to set up and configure a Linux cPanel server.
Thanks for reading and leave your questions below to keep the conversion going.


