Step by step Installation Microsoft SQL Server on Ubuntu 16.04
Step by step Installation Microsoft SQL Server on Ubuntu 16.04
-In this article We are going to installing SQL on Ubuntu Machine.You will make sure that your Ubuntu machine is up to date and you must have 2GB ram in your machine:
$ sudo apt-get update && sudo apt-get upgrade && sudo apt-get dist-upgrade
After that add the SQL repo:
$ curl https://packages.microsoft.com/keys/microsoft.asc | sudo apt-key add -
Now you need to add Microsoft repo in Ubuntu :
$ wget -qO- https://packages.microsoft.com/keys/microsoft.asc | sudo apt-key add -
And
$ sudo add-apt-repository "$(wget -qO- https://packages.microsoft.com/config/ubuntu/16.04/mssql-server-2017.list)"
Now do Update the repo:
$ sudo apt-get update
Afterward Install SQL server:
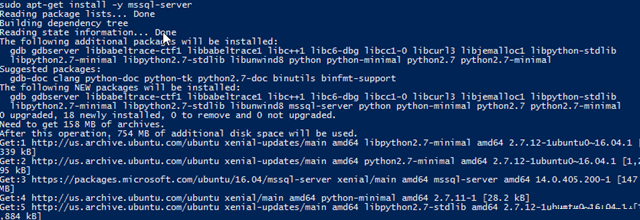
$ sudo apt-get install -y mssql-server

$ sudo systemctl status mssql-server && sudo systemctl restart mssql-server.service
Start the SQL installation process :

Next when you have finished setup we need to do some change in configuration.
$ sudo /opt/mssql/bin/mssql-conf setup
You do accept the license term ( hey! is Microsoft )
![]()
now you should Enter your SA password Which we can say that is your main password :
Last, Finish the installation.
Note – Open port 1433 in Ubuntu firewall
Now you have to Connecting to the server using the command line
$ sudo apt-get update && sudo apt-get install mssql-tools unixodbc-dev
You need to Add mssql-tools to bash and execute on terminal
$ echo 'export PATH="$PATH:/opt/mssql-tools/bin"' >> ~/.bash_profile

$ echo 'export PATH="$PATH:/opt/mssql-tools/bin"' >> ~/.bashrc
source ~/.bashrc
Now, the time to try to connect MSSQL Server via command line.
$ sqlcmd -S localhost ( your Server IP ) -U SA
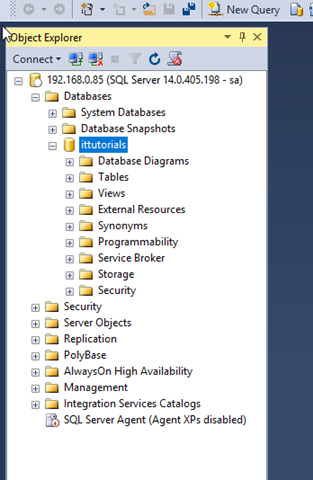
You can also connection it via Visual Studio

You need to follow this link for download Visual Studio
For More Detail : MSSQL Server
For other’s OS : Microsoft SQL Server

