Setup WordPress Multisite on an Ubuntu 16.04
Setup WordPress Multisite on an Ubuntu 16.04
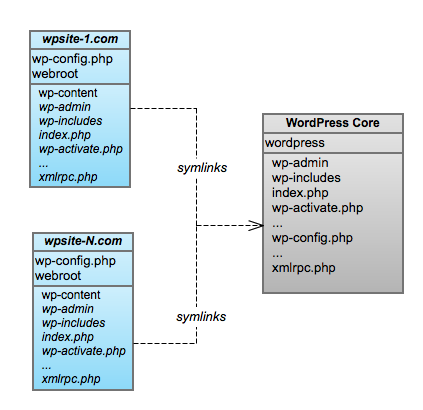
In this present article, Today we will discuss with you that how we can setup WordPress Multisite on an Ubuntu 16.04 VPS with MariaDB, PHP-FPM 7.0 and Nginx. You know that WordPress allows you to run and manage Multisite to multiple WordPress websites from single WordPress installation.So now We will learn to test and written for an Ubuntu 16.04 VPS.

sudo apt update && sudo apt -y upgrade
sudo apt -y install curl
For database I am going to use MariaDB 10.2 machine that I have.
sudo apt-get install software-properties-common -y
sudo apt-key adv --recv-keys --keyserver hkp://keyserver.ubuntu.com:80 0xF1656F24C74CD1D8
sudo add-apt-repository 'deb [arch=amd64,i386,ppc64el] http://suro.ubaya.ac.id/mariadb/repo/10.2/ubuntu xenial main'
sudo apt update
sudo apt install mariadb-server -y

When you have finished install MariaDB 10.2 on machine then we now need to create database password and its username.
$ mysql -u root -p

MariaDB [(none)]> CREATE DATABASE solutionclub;
MariaDB [(none)]> GRANT ALL PRIVILEGES ON solutionclub.* TO 'solutionclub'@'localhost' IDENTIFIED BY 'solutionclub123@r';
MariaDB [(none)]> FLUSH PRIVILEGES;
MariaDB [(none)]> \q
Now the time to install the latest stable version of PHP 7.0 and all mandatory modules, run:
sudo apt -y install php-fpm php-cli php-gd php-mysql php-mcrypt php-curl php-intl php-xsl php-zip php-mbstring php-xml php-xmlrpc
When you done install latest PHP module we require to change some php.ini file path /etc/php/7.0/fpm/php.ini
cgi.fix_pathinfo = 0
memory_limit = 256M
upload_max_filesize = 128M
zlib.output_compression = on
max_execution_time = 90
We use the wp-cli tool for the installation of our WordPress Multisite installation.
curl -O https://raw.githubusercontent.com/wp-cli/builds/gh-pages/phar/wp-cli.phar
chmod +x wp-cli.phar
sudo mv wp-cli.phar /usr/local/bin/wp
Then,Check wp-cli.phar is working or Not
wp --info

PHP binary:     /usr/bin/php7.0
PHP version:    7.0.15-0ubuntu0.16.04.4
php.ini used:   /etc/php/7.0/cli/php.ini
WP-CLI root dir:        phar://wp-cli.phar
WP-CLI packages dir:
WP-CLI global config:
WP-CLI project config:
WP-CLI version: 1.1.0
For our WordPress Multisite installation create a directory
sudo mkdir -p /var/www/vhosts/solutionclub.in/
cd /var/www/vhosts/solutionclub.in
wp core download
Next is to Create a wp-config.php file:
wp core config --dbname=solutionclub --dbuser=solutionclub --dbpass=solutionclub123@r
Now you Run the WordPress Multisite installation:
wp core multisite-install --title="My solutionclub Multisite" --admin_user="admin_user" --admin_password="solutionclub123!qw" --admin_email="[email protected]"
If the installation is successfully done you will be able to see something like below:
Created single site database tables.
Set up multisite database tables.
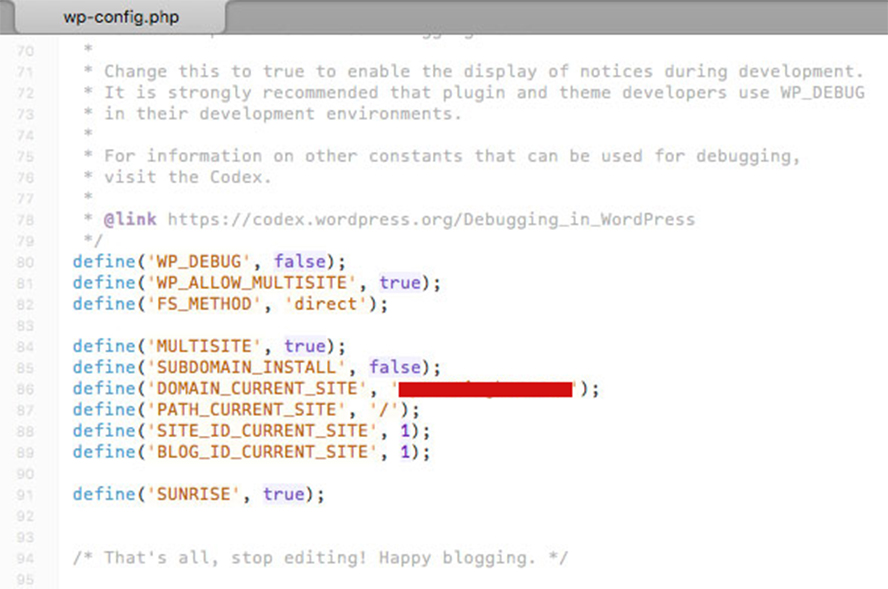
Added multisite constants to 'wp-config.php'.
Success: Network installed. Don't forget to set up rewrite rule
Finally, you can set the correct permissions:
sudo chown -R www-data: /var/www/vhosts/solutionclub.in/
You can Install Nginx from the official Ubuntu repositories:
sudo apt -y install nginx
server {
    listen      80;
    server_name solutionclub.in www.solutionclub.in ask.solutionclub.in test.solutionclub.in;

    root  /var/www/vhosts/solutionclub.in;

    index index.html index.htm index.php;

    charset utf-8;

    if (!-e $request_filename) {
        rewrite /wp-admin$ $scheme://$host$uri/ permanent;
        rewrite ^(/[^/]+)?(/wp-.*) $2 last;
        rewrite ^(/[^/]+)?(/.*\.php) $2 last;
    }

    location / {
        try_files $uri $uri/ /index.php?$query_string;
    }

     location = /favicon.ico { access_log off; log_not_found off; }
    location = /robots.txt  { access_log off; log_not_found off; }

    access_log  off;
    error_log   /var/log/nginx/solutionclub.in.error.log;

    sendfile off;

    location ~ \.php$ {
        fastcgi_split_path_info ^(.+\.php)(/.+)$;
        fastcgi_pass unix:/run/php/php7.0-fpm.sock;
        fastcgi_index index.php;
        include fastcgi_params;
        fastcgi_param SCRIPT_FILENAME $document_root$fastcgi_script_name;
    }

    location ~ /\.ht {
        deny all;
    }
}
Now you need to Activate the server(Domain) block by creating a symbolic link for nginx:
sudo ln -s /etc/nginx/sites-available/solutionclub.in /etc/nginx/sites-enabled/solutionclub.in
And now you can Test the Nginx configuration and restart nginx:
sudo nginx -t
sudo systemctl restart nginx

sudo php7.0-fpm -t
sudo systemctl restart php7.0-service
Now you will be able to login or access to your WordPress back-end by going to http://www.solutionclub.in/wp-admin and use the information you set when running the wp core multisite-install command.

Wonderful Job !!!!

